

Github를 통해서 Vim setting 값을 관리하기 위해서 .vimrc 파일을 github에 올려보자.
1. github에서 repository를 새로 만든다.

Repository name을 MyVimSettings라고 설정했다고 가정하고 진행한다.
2. create a new repository on the command line
cd

git init

git add .vimrc

git commit -m “first commit”

git remote add origin git@github.com:your_github_id/MyVimSettings.git

git push origin master
잘못된 주소를 수정하려면…
git remote remove origin
git remote add origin https://github.com/your_github_id/MyVimSettings.git
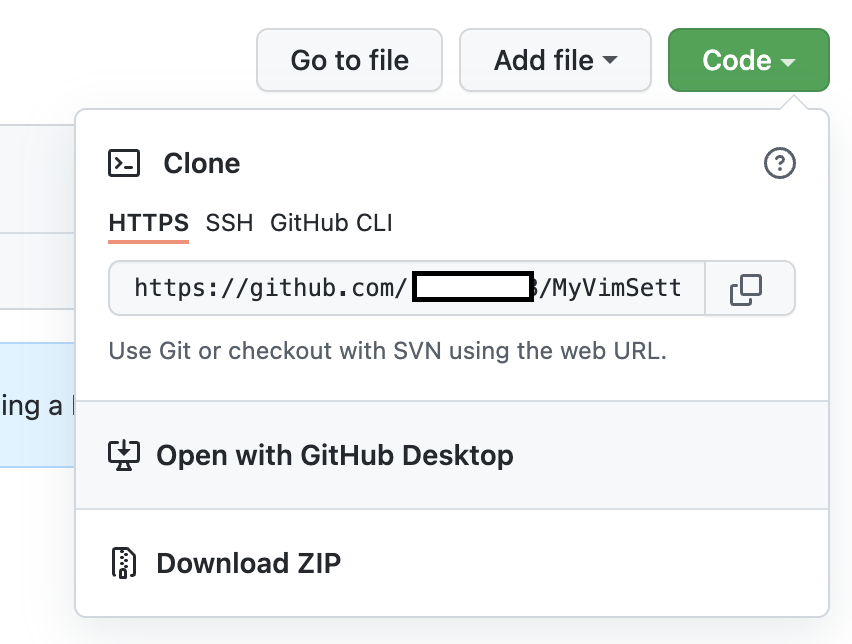
Code language: JavaScript (javascript)remote의 주소값은 github에서 repository를 생성하면 알 수 있다.
번외 github personal access token
remote: Support for password authentication was removed on August 13, 2021. Please use a personal access token instead.

remote: Please see https://github.blog/2020-12-15-token-authentication-requirements-for-git-operations/ for more information.

fatal: Authentication failed for 'https://github.com/your_github_id/MyVimSettings.git/'
Code language: JavaScript (javascript)
위와 같은 메시지을 받은 경우에 대처방법
인증을 위해서 더이상 password를 사용할 수 없게 되었다.
personal sccess token을 발행하고 이를 통해서 인증해야 한다.
github settings
-> Developer settings
-> personal access tokens
-> Generate new token
-> repo( 일반적으론 repo 선택)
-> 생성된 토큰 복사, 보관 (반드시 보관할 것)
git commit 후 git push를 하면
$ Username for https://github.com :

$ Password for https://github.com/^^id :
Code language: JavaScript (javascript)
Username 부분 : 자신의 깃허브 아이디
Password 부분 : Personal access token
다시 push 진행하면 정상적으로 될 것.
출처 : (https://hyeo-noo.tistory.com/184)[https://hyeo-noo.tistory.com/184]